Wednesday, February 15, 2012

Hand-bound lacing holes or metal eyelets? + More stays progress

In the 18th century the lacing holes would be hand bound with thread and that's how I've used to do it on my stays. But lately I've started to consider if I should use metal eyelets because the hand-bound holes have stretched and ripped after two years of using my former stays and now I wish my future stays to stay neat as long as possible. I've been debating whether it's more important for me to have historically accurate lacing holes or the stays last for longer and haven't yet come to a decision. I know it doesn't really matter as much when I have machine-sewing seen as when I don't have it seen and right now the machine sewing is visible on the outside of the new 1780s stays so I'm starting to think I could go for the metal eyelets.

Here's my list why I should use either:

Metal eyelets:
-last longer
-durable
-quicker to attach
-not historically accurate

Hand-bound lacing holes:
-historically accurate
-look prettier (that's just my opinion)
-stretch and rip over time

Conclusion could be to use metal rings to strengthen the lacing holes. Yesterday I discovered that it's also historically accurate. Here's my rough translation from Underkläder by Britta Hammar and Pernilla Rasmussen:
"... to make the (lacing) holes more durable you could strengthen them with a piece of leather. Another option was to sew in metal rings around the hole between the layers of the stays or on the right side - a method that is used, for example, in the two stays of Malmö Museum's collection."
There are also pictures of these two stays in the book but I couldn't find them on the Internet... However, since I'm going to make another stays after I've finished the ones I'm sewing right now, I'm probably going to try out the metal rings on the next ones and go with the metal eyelets this time.We'll see about it later.

So, after I had sewed the pieces of the stays together, I stitched the seam allowances flat to the underside and also stitched the seams by hand on the inside to make the stays even more durable.


After that, it was finally time for the metal eyelets. I'm really pleased with my choice, in the end.


Now, this also isn't a historically accurate way to do the lining, but I've always preferred to sew the lining under the binding because I think it looks more finished and prettier that way and because these stays aren't going to be worn every day so I doubt the lining won't have to be changed.


I got to try these on and like I had assumed, they were indeed far too big. I drew the pattern back in September and have lost weight since. It doesn't matter, though, because these will be sold anyway when finished. 

Next up: the binding... Don't we all just love that part with the tabs...

Wednesday, February 8, 2012

Museum of Fine Arts, Boston: Search the collections

I can't believe I had missed out this one! And I thought there couldn't possibly be more online collections because my online collections list (see the list on the left side of the blog) seemed so long already. ;) Anyhow, if there's anyone like me who hasn't seen the collection here's a link to it.

Monday, February 6, 2012

More progress on the stays and two great articles

I've been really excited about sewing the 1780s stays and have made progress on them every day since last post. I debated whether to have visible boning channels or not but eventually I thought the boning channels seem to be always visible in the late 18th century stays I've seen so that's how I wanted them to be.


Recently I've been exploring a lot of new blogs and found some interesting articles. To mention a couple, you should definitely read: 

This post on Textile Time Travels. Annika Madejska talks about SCA events but to me it seems there are some similar issues on the 18th century reenactor community as well. The second half of the article in particular. 

Also, on HistoricalSewing.com Jennifer Rosburgh has written a great article about trying keeping up with other costumers. I'm sure many of us agree with her. 

Wednesday, February 1, 2012

W.I.P.: 1780s stays and petticoat for polonaise progress

So, I'm happy to tell I actually kept my promise I made in the last post and started sewing the petticoat for my robe à la polonaise. At the moment I've got only half of the trimming on the hem left to do. I got the idea for the pinking of edges from Janet Arnold's Patterns of Fashion I. I guess most of you are familiar with the book and recognize the petticoat I'm talking about. I don't have a real 18th century pinking tool since it's not available anywhere on the web at the moment (Do correct me if I'm wrong.) so I used my pinking shears to imitate the triangular pinking style. It's quite time-consuming and doesn't have the exact same shape of the original 18th century pinking but I'm happy with the result anyway. 


I decided on a pleated trimming style that matches with the trimming on the gown itself.


I found this lovely drawing of a woman sewing with a similar pleated petticoat trimming style.

Louis Roland Trinquesse, Seated Woman Sewing, 1788

Also, I mentioned I was making patterns for 1780s stays in a post last September (Was it that long ago, really?!)  and I found the cut pieces last weekend when I was going through my fabric boxes and thought I should make them although I had decided on another pattern. I'm probably going to sell them once they're finished so I 'm not going to make any changes to them according to my size. I do this just purely for fun and to test out the pattern I had picked.

Friday, January 20, 2012

Underwear

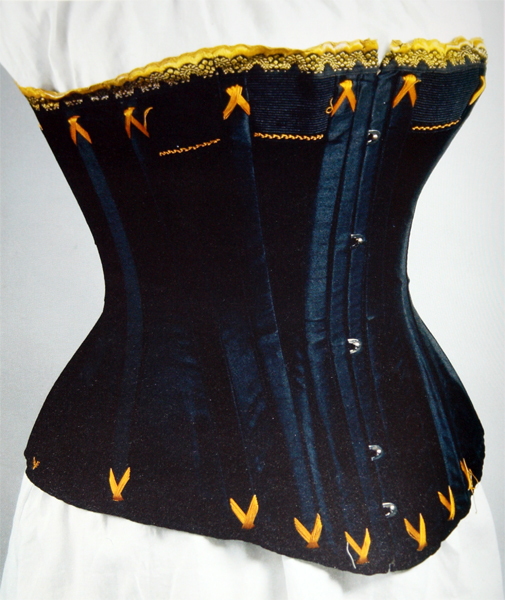
Lately I haven't been sewing much out of studies... I've been just planning and dreaming mostly. The good news is that I'm nearly finished with a 1890s corset I'm making for my final project at school. I think I haven't mentioned that here before. The pattern is from Corsets: Historical Patterns & Techniques by Jill Salen. Mine is going to be very plain in white. It has been fun to try out something from the 19th century for a change. 

The whole project includes a set of unmentionables (underwear) from the 1890s and a study of the women's fashionable silhouette from 16th century to the early 20th century, which means I'm been researching a lot about the underwear from other periods than just 18th century, too, and it has been really interesting. 

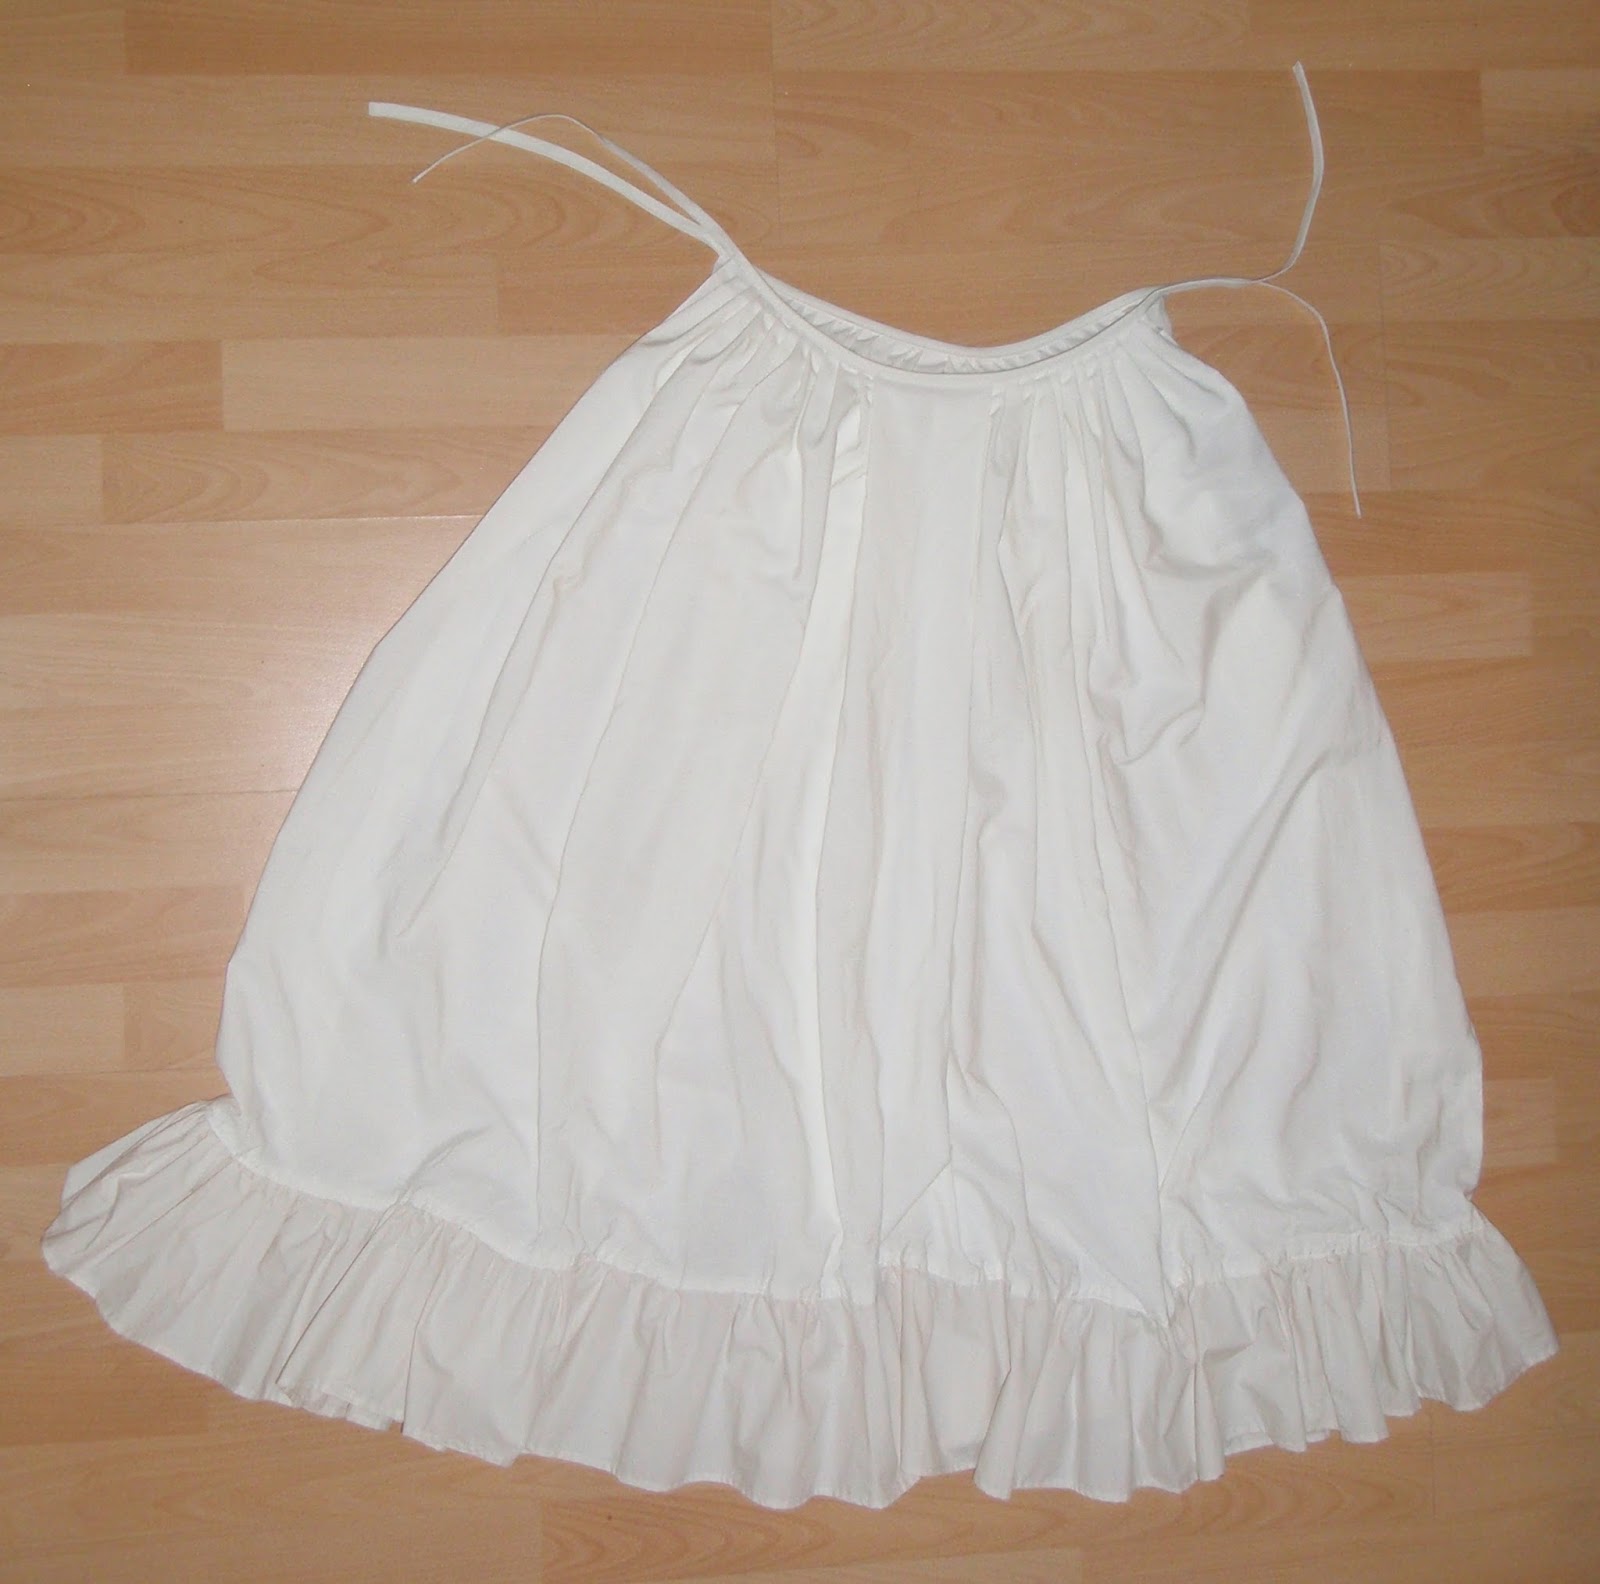
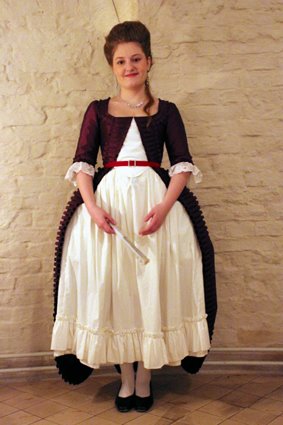
Today I really felt like I just had to get my hands on sewing at home so I decided to make an extra under-petticoat that I should have made a long time ago but I just never got around to do it. It was a really quick project and here's the result. The petticoat is fitted over pocket hoops and has a ruffle in the hem. It's also white and shorter than my other petticoats so that it won't be seen. Nothing special, really, but anyway... A girl can never have enough petticoats, right? I was thinking about making a tutorial how to make a quick petticoat but I realized there is a few tutorials available already. 

Go check out:

The Diary of a Mantua Maker: Perfectly pleated petticoats


Now, feeling this productive, I think I'm heading off to make the actual petticoat for my robe à la Polonaise, since I didn't make it in time for the ball a couple of months ago...

Wednesday, January 11, 2012

CER.ES: Online Collection and how to search

It's been a real pity that the Imatex online collection hasn't been available for ages because they had some very pretty extant 18th century costumes in the collections. Now some of the objects are available on Colecciones en Red online collection. The page is in Spanish so if you don't understand the language it can be a little difficult to find things. However, after trying various options I've found a way to get around.

Try search words such as polonesa (polonaise), vestido (dress), Museo del Traje and robe and click 'buscar' to search. After getting on the list of the search results, click on the 'Ficha completa' for more information and to see a bigger image. Click 'Ampliar Imagen' under the image to enlarge. There's also advanced search 'Busqueda avadaza' available and it's not too hard to understand the search options, specially if you use Google translator. I know Google translator is usually a bummer but in simple cases such as this it helps you to get an idea about the texts on the page.

You can find some of the objects that are in the collection more easily on Museo del Traje's Visita Virtual page.

This is definitely not one of the best online collections I've seen but it's nice anyway. The large views of the images aren't that large, really, there aren't many views on the objects and you usually can't open the links on tab, which I find tedious because you have to click the 'more information' link and get back on the search result list page in order to click the next object for more information.

Happy searching! ;)

Friday, December 2, 2011

Finished robe à la polonaise at the Christmas ball

Aaand here it is! My new polonaise in action. I made it to be worn in the Christmas ball held in Suomenlinna and the ball was absolutely great - like every year! I met my friends and some great new people. For once I've also documented the dress better than I usually do.. Exept for the shots of me wearing the dress. You rarely have time to take good pictures of the outfit when attending an event and it's also really hard to get good ones because of the candle-lit rooms.


Front view of the dress.

I didn't manage to sew a matching petticoat but luckily one of my old petticoats goes quite nicely with it, don't you think? I do have the fabric for the new one so I'm going to make it when I can.

There is about 4 cm wide pleating on the neck and sleeves and 8 cm wide pleating on the edges of front, widening to 10 cm after waistline. Red velvet band with a square buckle on the waist. The front fits close to skin on the waist unlike many of the polonaises that just seem to hang over the waist. I'm just not that fond of loosely fitting garments, though I don't think it looks bad at all now that I'm used to it. I'm very happy with the fit of the dress. It was a real struggle to fit the sleeves well on my own...


And the back... While dancing! The skirt is lifted up with two strings and the velvet band is tied to a bow at the back. The pleating continues all the way around the hem...

And a couple of other photos, with kind of silly faces, but anyway...


The whole dress laid out on the floor.
 

The same on the inside. And yes, I know you shouldn't sew the lace into the sleeves but I got really frustrated about detachable sleeve ruffles and didn't want to make several shifts just to get different kinds of laces to different dresses.

The back-side.


The front closes with pins on the other side and the white stomacher is sewn into the dress on the other side.


Three seams in the back. First I was considering adding golden cord with tassels on the seams but in the end I thought it looked better without.


For the first time I didn't want any machine-sewing to be seen on the outside so I stiched everything by hand, except the seams on the inside, of course.


Some close-ups of the pleating that was pinked with pinking shears bought from here.


As a conclusion, I'm quite satified with this dress and it has to be my favourite in my 18th century garderobe at the moment. I think I will never do everything by hand because it's just not my thing, plus I don't consider myself as a reenactor, but a costume maker/lover. And I also just don't have the time nor the will to make everything by hand. Making this dress took so much of my time from other things that I'm atually left behind in my studies (ouchy!), plus I felt so bad because I wasn't paying much attention to my partner and my friends because I was just sewing the whole spare time that I had! So for a while I think I'm forced to put aside all my 18th century sewing projects - no matter how much I'd love to sew them now, specially because I'm feeling inspired after meeting so many other awesome costumers.


Some decorations that I used for my hair and the velvet band with a lovely square buckle..

The photos of me wearing the dress were captured by two lovely ladies, madame Petranella and Katariina Augustintytär (Read her blog here: Before the Automobile). Thanks to both of them!

Ps. I appologize for any typos that I might have made... I try to write correctly and read though the whole text carefully a couple of times before submitting it but usually I still find a few typos later on. Please, do note me about them if you notice any, so that I can correct them.