Thursday, December 4, 2014

Brown floral print gown at the Ehrensvärd museum

I don't know if you still remember but earlier I mentioned an outfit that I couldn't finish on time for the Isokyrö event in August. Well, now it's done, but I only finished it a couple of days ago - so it was more than three months late for the original deadline. The dress would propably still be unfinished by now if I hadn't set a new deadline for it for this year's Christmas ball. Originally I had planned to wear the same dress as last year and make the naval riding habit for a parade preceding the ball but obviously it didn't happen as I'm behind on pretty much everything regarding to sewing (and blogging, too...). Alright, on to the new dress! 


I've always loved the white floral print gowns from the 1770s/1780s but they are so very common so wanted something a bit different for myself. After discovering some floral gowns in darker fabrics through museums collections I knew I had to have one like them some day. It took a couple of years but then earlier this year I managed to find a Moda print fabric through Herzwerk-Freiburg that was even more lovely than I had hoped for. The fabric was nearly out of print everywhere so I ended up ordering from three different sources to have enough of it.


For the bodice and sleeves I used a robe à l'Anglaise pattern from The Cut of Women's Clothes by Norah Waugh (see diagram XXII). Working the same way as I always do, I enlarged the scale pattern on the computer and printed it out. However, this pattern turned not to work easily for me and the fact that I had to make quite a few mock-ups with so many alterations delayed the completion of this gown. Also, it didn't help that the fabric stretched a bit more than I had imagined and the stretch of the mock-up fabric was also different... I swear I've never had so much trouble fitting sleeves as with this dress (I guess I only now truly understand the meaning of sleevils ;) ). Not having made sleeves like this earlier I wasn't even sure how they were supposed fit/look but I think they turned out to be alright in the end.  


To upgrade the look of a brown day gown into a dress suitable for a ball I added some red accessories, using the same ear rings as last year and the belt that I have worn with pretty much every fitted back gown that I have.


 I also intended to make a matching petticoat from the same fabric for this dress but decided to use a sheer white petticoat this time to further enhance the evening gown look and leave the self fabric petticoat for day wear occasions. I'm probably going to wear this dress at the 18th century fair of Isokyrö next year so the brown color of the matching petticoat should be much better for outdoors than the delicate white. The skirt of the dress will also be draped up to avoid the slight train from dragging in ground.


The dress has a tight fitting quarter back but the floral pattern of the fabric conceals the seamlines so you can't see much of them here. I'm actually really happy with the fit of the back since the back of this gown fits more smoothly than the back of my earlier quarter back gown that had wrinkles all over it. There's also a slight train but I made a cutting mistake and it ended up being shorter than I had intented. Looking at the photos, I notice that the train isn't even either - it is longer at the sides of the center back than in the very center. But right now I don't care. Especially because I want to make a divided bum pad like Aubry of A Fractured Fairytale did or at least a bum pad with a dip at the center back, which should fix that problem. 


My hairdo was created by Mia, a new friend who traveled with me to the ball for her first time. I feel so lucky that I now have a friend who understands sewing and lives permanently in my hometown! Meeting her has been one of the best things in the past few months and the fact that I met her through my blog helped me to get over my blogging anxieties that have partly kept me away from posting for a while. It reminded me again that there are quite a few lovely people that I might have never met if I didn't have this blog...


All of these photos are also taken by Mia, at the Ehrensvärd museum that you might have already recognized from last year's Christmas ball posts. For some reason (read: because we were too busy doing last minute sewing) we forgot to check the museum opening hours and the museum was just closing as we arrived there. But the museum guide was kind enough to let us take a few photos before leaving. :)


Here's Augustin Ehrensvärd himself up in the middle with Noora and I posing next to him. 


And last but certainly not least, Mia wearing Noora's floral robe à l'Anglaise.


Tuesday, December 2, 2014

18th century fair of Isokyro

This post is coming really, really late but at least I'm trying to catch up on blogging because I've been gone for too long. Instead of writing about all aspects of this lovely weekend in August I'm simply going to give you a short tour around our little booth at the 18th century fair of Isokyrö since - apart from meeting friends from far - it was the focus of my trip.

Below: Maija of Couture Mayah on the left and Noora of The Shadow of My Hand on the right welcoming you at the booth.


Here's Hanna preparing for the weekend at our booth on Friday after arriving in Isokyrö.  As you will be able to tell from my photos, we had all sorts of historical and contemporary fashion items for sale.


Noora arranging her things on Saturday...


A couple of bum pads were hung from the ceiling. ;)


Noora had also made some cute garters and mitts for sale. 


You could also buy L'Amusette's calendar for 2015 at the booth. It has got breathtakingly amazing photos inspired by some famous 18th century paintings. 


More people from our booth group: Emilia and Ida.


Our booth sign, made by Maija and Hanna. Isn't it just adorable? :)


Here's one portion of the market place on Friday. Also, you could see glimpses of the Old Church of Isokyrö in my last post and here it is again in the background.


And then the same place again on Saturday (photo taken looking from the church towards the opposite direction than the photo above)... 


The church made a wonderful background for photos so of course we took many pictures in front of it. Here's a favorite.


Also, I got a punishment for being so indecently dressed


On Sunday Noora lent her jacket to me. (You can't go to a church mass in your underwear, right?!) We had not realized that we were almost the same size until this... so at the moment I'm borrowing her pattern for this jacket as I had been planning to make one as well.


In case you want to read more about this event (and see more photos) head over to The Shadow of My Hand.

Friday, July 25, 2014

A visit to a local museum

A week ago I finally went to see a small local museum that I've been meaning to visit for ages but never got around to go there. It's called Sailor's Home Museum and it's located in a building that was built in the 1730s. The rooms of the house are furnished in 1880s style to represent a sailor's home and tenant's quarters. Because I actually ought to be sewing for an event that's only two weeks from now, I'm simply going to share my photos from the museum without much further introduction.

We'll start with the tenant's quarters...


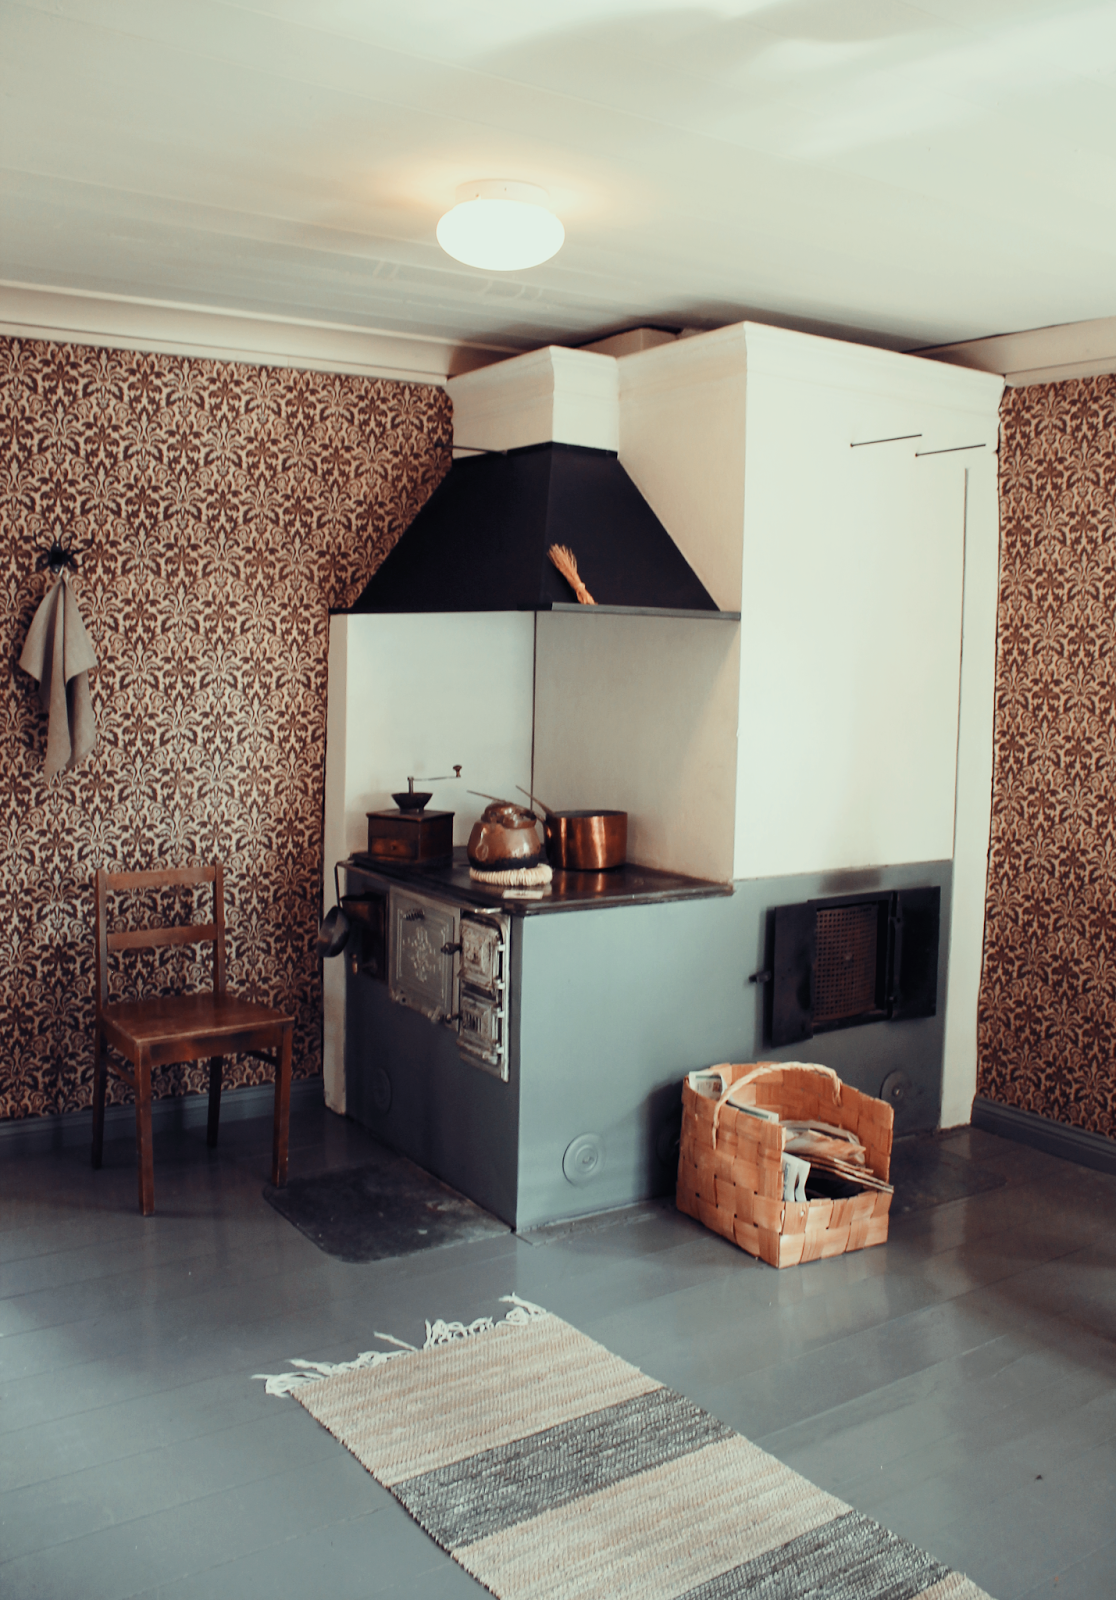
The wallpapers of the house were probably my favorite part from the museum. They were beautiful and I also loved that they weren't all perfect and spotless but they were partly crumpled on the walls and had imperfections in the matching of the papers.


Two of the rooms in the house also had painted walls instead of wallpapers.


The blue bed chamber was my favorite, of course! ;)


A close-up of the lovely wallpaper...


And here's the building from the outside...


The visit to the museum was nice although it was a very short one since I was there with someone who is almost not at all interest in history and who doesn't have much understanding nor appreciation for photography either. This is unfortunately not the first time I get reminded that you really should always go to a museum who is as much interested in seeing it as you... and who has the patience to wait for you to take as many photos as you like so you don't have to take them hastily...

The next post will be about sewing, I swear! ;)

Wednesday, July 2, 2014

Similarities...

This following fashion plate has appeared on my Pinterest feed quite a few times over the past couple of days and I guess many of you, who have already seen the said fashion plate and spent a lot of time browsing the pages of The Cut of Women's Clothes by Norah Waugh, have noticed that the cut of the dress depicted in it looks quite close to one of the patterns in the book (see diagram XXXII). It's a pity London Museum doesn't have photos of the original garment, that the pattern was taken from, on their online collections so we can't compare the fashion plate with it.

Journal des Luxus, December 1795.
This fashion plate also reminds of a quite similar dress (in cut) in a painting by Louis Léopold Boilly (below).

At the entrance (1796-1798), by Louis Léopold Boilly.

Why am I bringing this up on the blog, then? Mainly, just out of the joy of sharing and, secondly, because I find the raising waistlines of the 1790's very appealing and would love to sew a gown similar in style to these dresses in the future. This is something I'm only dreaming about so therefore it's not going to happen any day soon. But I wanted to write a brief post abut it anyway since the dresses of this type were definitely on my mind when I began to sew my pair of transitional stays that I think would work wonderfully for something like these gowns, with rising waists and gathered fronts.

Now, who's tempted to buy that fashion plate from Ebay? ;)

Monday, May 12, 2014

Transitional stays c. 1794-1800, chemise and under-petticoat

Here come the photos of the first garments that I've actually finished this year. It's such a relief to get something done completely because my projects haven't exactly gone smoothly in the past four months, which has resulted in leaving me with more UFOs than, well, ever before. That's also why I didn't post anything for a while, but I guess that happens to most of us sometimes, right? :)

Let's start with having a look at the front of the stays. I'm actually really happy I put more bones into the front panels of the stays than in the original pattern because I'm almost certain that there would be more creasing if I hadn't done so. Plus, the extra bones support the bust from below without making the stays any less comfortable. Should I ever make another pair of stays with this pattern, I might place the cups slightly closer to the center front because it's just not possible for my breasts to be quite this far apart - even if the aim is to get that separation effect. The issue doesn't really show much on the photos and I'm quite sure you can't tell once I'm wearing a gown on top of the stays so right now I'm just going to stick with this pair. Also, adding more width to the lower part of the cups might help with the creasing that you can see at the front.


Now we can also compare the results with a period engraving which is actually around ten years later than my transitional stays - but the shape that the stays provide looks basically the same, doesn't it?

The Ladies' Dress Maker, from "Book of English Trades", 1811.

The shape of the cups is controlled on top with drawstrings that run under the twill tape binding. 


Maybe you already noticed that there are actually modern underwires under the cups to support the breasts. Since it looks like there are bones under the cups of the trasitional stays on the MET, I thought I might get away with using them. :)


Unfortunately the photos of the back of the stays were unsuccessful so I'll have to try to get photos of it some other time and add them to the blog later. :/ 

I also made a under-petticoat. At first I wanted to make a bodiced petticoat but then, I really liked the petticoat Merja made for her riding habit, and eventually decided to leave the bodice out so that I wouldn't have to worry about the length of it. I actually didn't sew the shoulder straps into the waist tape of the petticoat at front either - they are only pinned so I can adjust the back depending on how high or low it should be. 

The front of the petticoat is almost triangular so that the petticoat gets wider towards the hem and there's no gathering at waist, which helps to create a smooth figure without making you look like you're larger than you actually are. 


The back is gathered to the waist tape only in the middle, but not on sides. 


And finally, here's the side view.


The petticoat is a bit too long so I will probably have to make it shorter by making a tuck at the hem but after that I'm ready to move on! :)

Monday, May 5, 2014

Fabrics (and cars)

The transitional stays are finished now, along with a new regency chemise, and I'm now eagerly waiting for a chance to photograph them. In the meanwhile, I thought I'd share photos of some exciting fabric purchases.

Thanks to Hertzwerk-Freiburg, I was able to get enough of this pretty floral print cotton with a brown background (something I've tried to find for a while now) to make a dark floral robe à l'Anglaise out of. I'm hoping to get the dress done by August.


The next cotton fabric will turn into an early 1810s gown - very soon, I believe. This is the fabric that has been kicking me to get those regency undies done.


And the following fabric is actually polyester taffeta but at -70% discount I couldn't pass, so I bought six meters for 21 euros and have no regrets. It's a very nice quality and will eventually become a late 1780s/early 1790s robe à l'Anglaise... with a vandyke collar.. maybe... I haven't really decided yet because, in all probability, it's not happening this year.


In case you're not interested in seeing some old cars, you may stop reading this post now... ;)

Wednesday, April 23, 2014

When 18th century sewing gets too overwhelming...

The short story: There are times when I get frustrated with most of my 18th century sewing because - lets face it - sometimes it can be a bit tiresome... and complicated. So what do you do? Bring out the regency to the rescue!

The long story: I've thought about starting making costumes for other periods than just the usual 1770s/1780s for a long time but never quite got around to do it. It was just recently when I realized I really am the social kind of costume maker and by that I mean that it's very hard for me to finish, or get even started on anything at all that I can't wear to events or with friends. So it's not a coincidence that I'm going to start making very late 18th century/early 19th century costumes now that I've become friends with Noora. It's so nice to have someone to talk about your costumes in real life and even more fun to know that you'll have someone to take your new clothes out with, sooner or later. Conveniently, also Merja started making herself costumes from this period a while ago.

Finally, here's proof of what I've been making...


Transitional stays - yay! And I'm near to finishing, only having the tabs of the other half to bind... Of course I ran out of twill tape just when I was about to finish. *sigh* So now I have to head to town to get some more before I can take more photos of the stays on body.


These stays are made out of just two layers of fabric - cotton for the outside and linen for the lining. 


The pattern is from the book Corsets by Jill Salen, with only a couple of alterations. I replaced the bust gussets with breast cups and narrowed the shoulder straps. Also, I increased the amount of bones from five on each side to eight, based vaguely on the transitional stays from V&A. Another pair of stays that I used for inspiration, mainly for the cups, is from Kent State University Museum. However, the shape of the cups (especially on the top) was heavily influenced by the pair from Met.


You can see the final pattern I made for the breast cups in the photo below. I had to make three mock-ups for it until I got it right. The first two were far too small and honestly, the third one could be just a bit larger but it works anyhow. 


It took me a while to figure out how to construct these stays, as the original in the book is also made out of only two layers of fabric so that you don't bind the stays before adding the lining as it's common. Eventually, I constructed the stays by joining the panels by whip stitching  them together after I had turned the seam allowances in between the outer layer and the lining of each panel. Photos will do much better job explaining than I will.


I admit being lazy and stitching the tape on top of seams and the boning channels by machine. :)


Somehow I managed to mess up while measuring the original pattern because I though it would fit but it turned out to be way too small and I had to slice it in two at the back and add eyelets for lacing. I'm quite sure your stays are not supposed to have lacing at the front as well as at the back but this was just so much quicker a solution than starting the whole thing over from the beginning. 


And since I'm quite sure you're all eager to see how these stays look when worn, I give you these two photos snapped quickly with my phone the last time I tried the stays on. Please ignore that I didn't lace them up properly. Also, I'm wearing my 18th century shift under the stays so you can see I definitely need another with a wider neckline and short sleeves. 


I was aiming to be able to wear these stays for costumes from about 1794 stretching into the 1810s, even though the stays itself date to about 1794-1800. I believe I did a pretty good job getting the suitable shape for that period. Or what do you think?


I'll share the rest of my thoughts in the next post once these stays are completely finished.