Wednesday, April 23, 2014

When 18th century sewing gets too overwhelming...

The short story: There are times when I get frustrated with most of my 18th century sewing because - lets face it - sometimes it can be a bit tiresome... and complicated. So what do you do? Bring out the regency to the rescue!

The long story: I've thought about starting making costumes for other periods than just the usual 1770s/1780s for a long time but never quite got around to do it. It was just recently when I realized I really am the social kind of costume maker and by that I mean that it's very hard for me to finish, or get even started on anything at all that I can't wear to events or with friends. So it's not a coincidence that I'm going to start making very late 18th century/early 19th century costumes now that I've become friends with Noora. It's so nice to have someone to talk about your costumes in real life and even more fun to know that you'll have someone to take your new clothes out with, sooner or later. Conveniently, also Merja started making herself costumes from this period a while ago.

Finally, here's proof of what I've been making...


Transitional stays - yay! And I'm near to finishing, only having the tabs of the other half to bind... Of course I ran out of twill tape just when I was about to finish. *sigh* So now I have to head to town to get some more before I can take more photos of the stays on body.


These stays are made out of just two layers of fabric - cotton for the outside and linen for the lining. 


The pattern is from the book Corsets by Jill Salen, with only a couple of alterations. I replaced the bust gussets with breast cups and narrowed the shoulder straps. Also, I increased the amount of bones from five on each side to eight, based vaguely on the transitional stays from V&A. Another pair of stays that I used for inspiration, mainly for the cups, is from Kent State University Museum. However, the shape of the cups (especially on the top) was heavily influenced by the pair from Met.


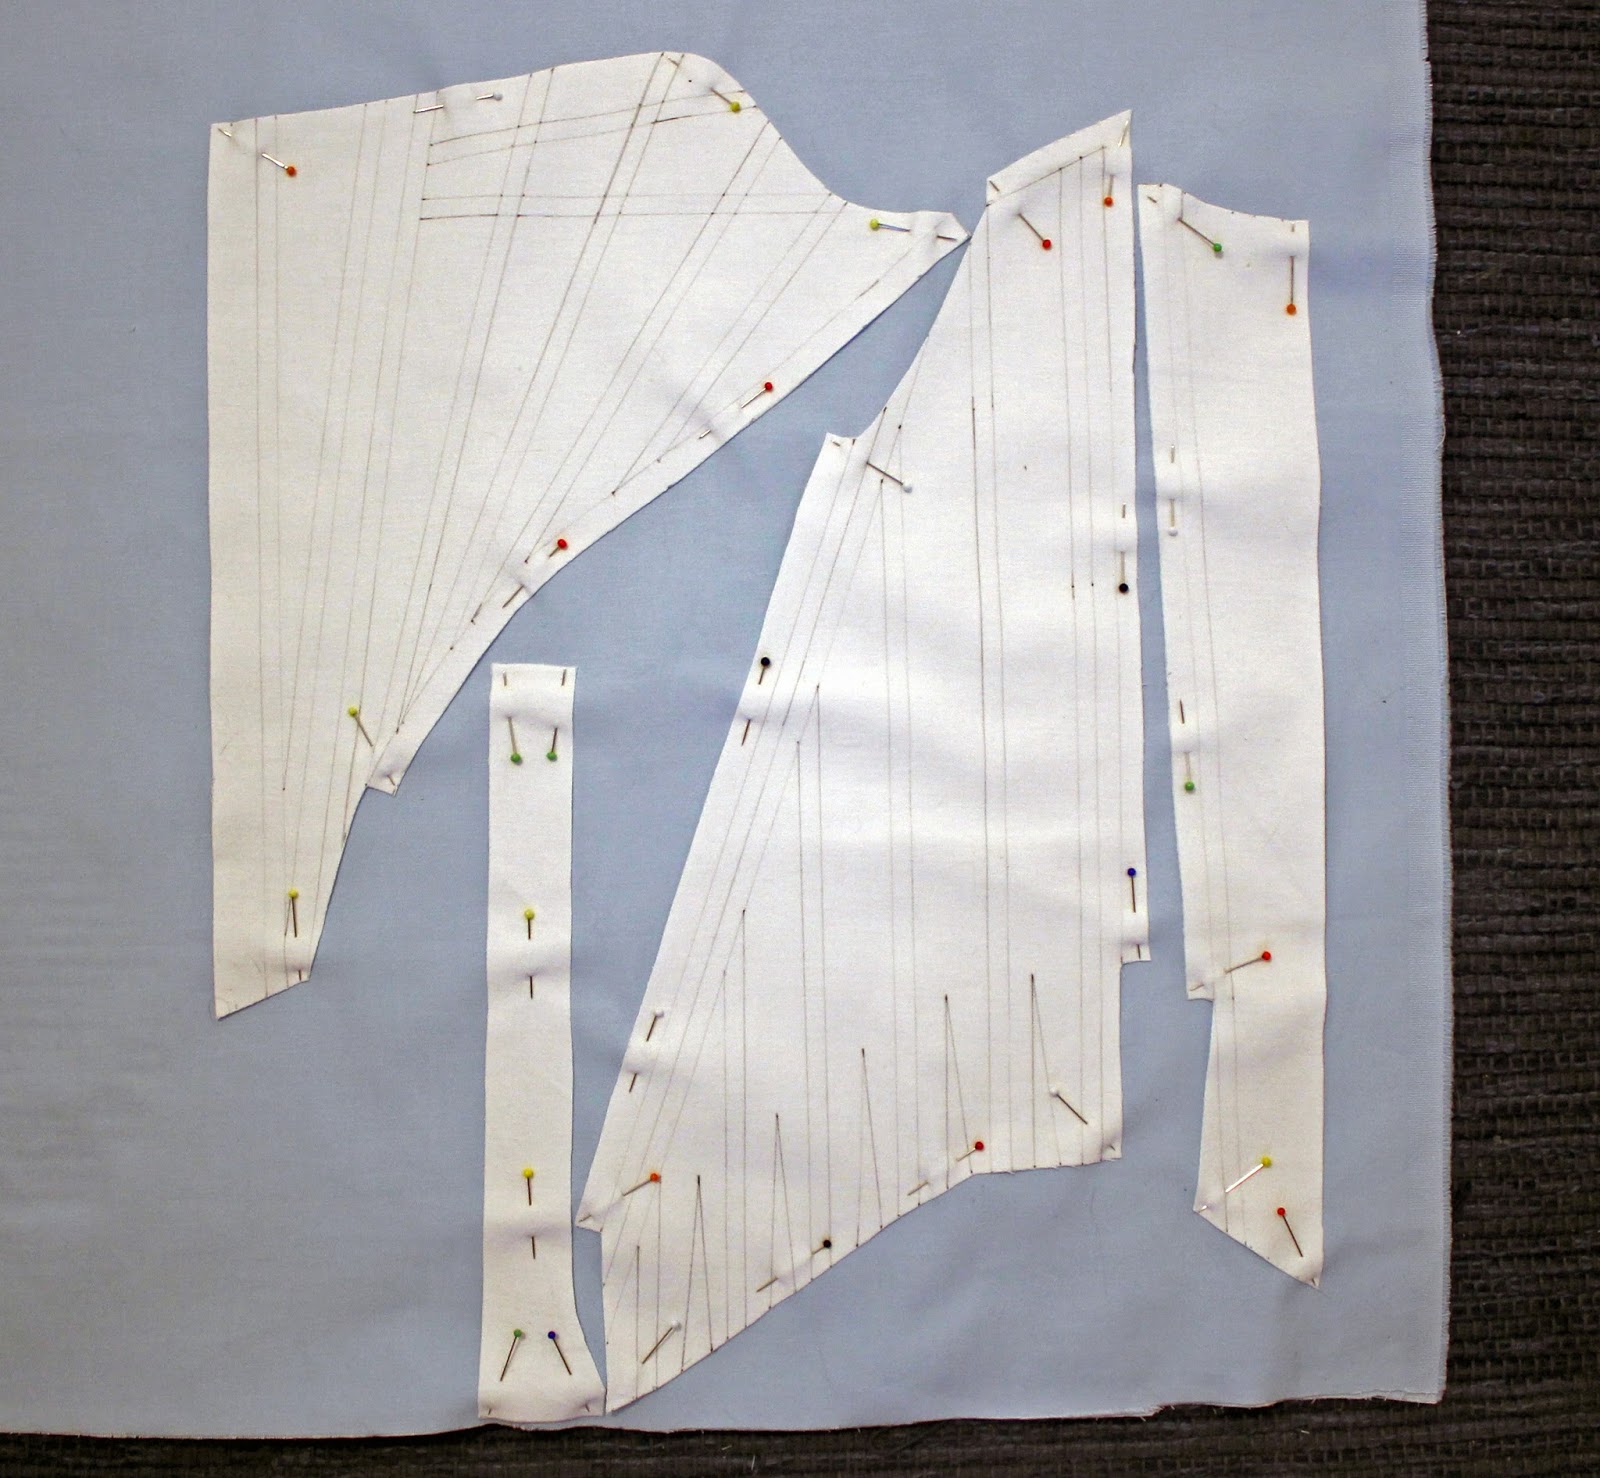
You can see the final pattern I made for the breast cups in the photo below. I had to make three mock-ups for it until I got it right. The first two were far too small and honestly, the third one could be just a bit larger but it works anyhow. 


It took me a while to figure out how to construct these stays, as the original in the book is also made out of only two layers of fabric so that you don't bind the stays before adding the lining as it's common. Eventually, I constructed the stays by joining the panels by whip stitching  them together after I had turned the seam allowances in between the outer layer and the lining of each panel. Photos will do much better job explaining than I will.


I admit being lazy and stitching the tape on top of seams and the boning channels by machine. :)


Somehow I managed to mess up while measuring the original pattern because I though it would fit but it turned out to be way too small and I had to slice it in two at the back and add eyelets for lacing. I'm quite sure your stays are not supposed to have lacing at the front as well as at the back but this was just so much quicker a solution than starting the whole thing over from the beginning. 


And since I'm quite sure you're all eager to see how these stays look when worn, I give you these two photos snapped quickly with my phone the last time I tried the stays on. Please ignore that I didn't lace them up properly. Also, I'm wearing my 18th century shift under the stays so you can see I definitely need another with a wider neckline and short sleeves. 


I was aiming to be able to wear these stays for costumes from about 1794 stretching into the 1810s, even though the stays itself date to about 1794-1800. I believe I did a pretty good job getting the suitable shape for that period. Or what do you think?


I'll share the rest of my thoughts in the next post once these stays are completely finished.

Saturday, March 29, 2014

Some paintings just need more love...

You know that moment when you stumble upon a gorgeous painting that you haven't seen before? It happened to me today and I immediately felt like sharing this lovely piece of art with everyone.

Portrait of a Lady with her Son (ca. 1792), attributed to Adolf Ulrik Wertmüller.

And doesn't that dress remind you of the one Marie Antoinette wore for this painting?

Marie Antoinette with two of her children (1785) by Adolf Ulrik Wertmüller.

Which one do you prefer? Because at least I'm having hard time to choose!

Thursday, January 2, 2014

Naval riding habit inspiration

The time has come for me to make a riding habit, another one of those projects that I've hoped to make for so long, maybe even longer than any other project. As a child, much before I got into costume making, I used to be interested in pirates as well as naval history. So I've been hoping to make a naval inspired riding habit ever since I realized it would be a much better option than making a naval officer's uniform for myself. The design started to evolve when I stumbled upon a naval inspired riding habit on deviantArt but the original photo got deleted from the site a long time ago so I can't link it here. But I had to mention it anyway because I don't want to take credit from something that wasn't originally entirely my idea.

Anyhow, my major source for inspiration comes from the naval uniforms of National Maritime Museum, which I visited a few years ago. My favourite type of uniform is the full dress uniform of a captain, from 1774. If you've read my post about the floral robe à l'Anglaise, you surely understand why. The reason why I didn't start making a riding habit earlier than this is that I hadn't found suitable wool for it. But a few months ago I did, when I was out visiting the local fabric stores with Noora. I also hadn't found good linen for the habit shirt, but Couture Mayah kindly sent me some linen for it some time ago. The only material I'm still missing is the trim but I'm ready to start making the outfit now because I can order it later.

A Portrait of a Lady (1747) by Roberet Harvie.

At first, I wanted to make the outfit in the 1770s style so I had already bought a pattern for it from Reconstructing History, but after seeing this painting, I changed my mind. Especially because I still have some fabric left from the recent robe à la Francaise that I plan to use for the waistcoat. The details that I love about this painting in particular: The lace collar with a black bow.

And the mariner's cuffs, plus the golden trim.


 For comparison, here are some painting of men in naval uniforms.

Captain Horatio Nelson (1781) by John Francis Rigaud.
John Jervis, Earl of St Vincent (1769) by Francis Cotes.
Captain James Cook (1775-76) by  Nathaniel Dance.

Mrs. Epes Sargent (Catherine Osborne) also wore a blue riding habit for her portrait. But I don't like the wide ribbon tied around her neck with two bows in the front and back because it's quite large. And isn't that pale pink bow in her hair just a bit silly? Maybe she tried to add a feminine touch to the stiff, tailored outfit with it but I don't like it. I also prefer the coat open in the front so that you can see the vest. 

Mrs. Epes Sargent (Catherine Osborne) by John Singleton Copley (c. 1764).

Nancy Fortescue looks fabulous in her blue riding habit, though. I love the tassels!

Portrait of Nancy Fortescue (1745) by Thomas Hudson.

This picture is very small but you can see the lady in the blue riding outfit has got a coat with ermine cuffs and collar. 

Trevelyan family of Wallington, Nothtumberland, English school (1745-50).

For more blue riding habits and uniforms, take a look at this Pinterest board.

Friday, December 20, 2013

18th century stays - tutorial - part 2

Moving on with the stays (part 1). After drawing all the boning channels to the panels, pin the middle layer pieces on your exterior fabric. I really recommend linen or cotton for exterior fabric for beginners because they're both easy to work with (and comfortable materials, too). 

In case you're not sure what would be an appropriate color or material for your stays, take a look at these boards I've created of extant stays on Pinterest:


As you can see, I chose pale blue for these stays. I had hoped to use yellow with blue stitching but I wasn't able to find any suitable yellow fabric locally so I simply used what I already had in stash. 


Since you already marked most the seam allowances to the middle layer, you just have to add around 3 or 4 cm (depending on the width of the boning channels) to the center front and center back panels. This is the part that will cover the raw edges of the middle layer. It will also make sure your lining won't show from underneath. You could also finish the raw edges with binding but it seems to have been a much less common way to do it.


And now you're already ready to cut...


After cutting...


...it's time to get out your sewing machine and start stitching! Unless you're doing it by hand, of course. 

Tip: Start stitching the channels at the ends of the lines where the channels cross so it's easier to hit the right spot with the needle at the beginning. When you're sewing with the machine, it's hard not to stitch over the crossing lines if you start at the edges of the panels. 


Also, you don't have to tie knots to all the thread ends if you continue stitching the channels to the seam allowances. At the edges of the panels, secure the thread ends by sewing a couple of stitches back and forth so that they can be hidden by the binding.


I'm experimenting with a new technique here. Normally I would add small pieces of fabric for the horizontal channels but this time I'm simply going to put both the horizontal and vertical bones between the exterior layer and middle layer.


Sew all the boning channels, except the two channels next to center front and center back.


Cut off the thread ends at the edges of the panels.


Secure the rest of the thread ends by tying knots to them.


I also like to hide the thread ends between the layers, although it's not necessary because the lining will cover them anyway.


Then fold the 3cm wide parts that you added to the exterior panels earlier at center front and back to the underside of the layers and iron.


Cut off the excess.


And now you can stitch the rest of the boning channels through the three layers of fabric. To make it easier, you can also draw the channels on the underside.


And you're done with all of the channels.


Shorten the stitch length and stitch around the tabs about 2 mm away from the edges (meaning the lines that were drawn earlier). However, make sure you leave the ends of boning channels open so you'll be able to put the bones in later!


Do the same for the lower edges of the front and back panels.


Remember to stitch around the shoulder straps as well.


After you're done with all the panels, you can stitch them together.


Press the seam allowances open.


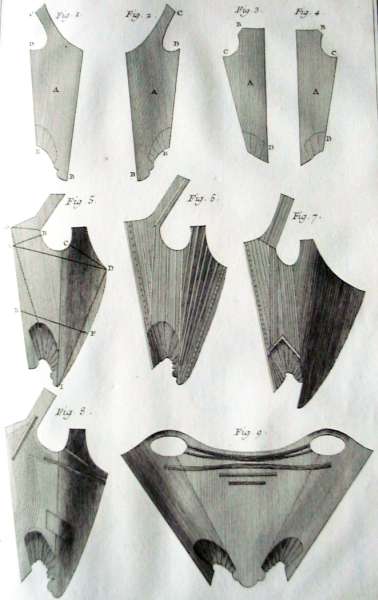
And now put the bones in. If you like, you don't have to cut the bones for the first fitting. But if you do, remember to make the ends of bones round so they won't tear the fabric. You can use cable ties or if you want to use a more period accurate material, reed is fine. Metal bones work, too, but I wouldn't use many of them because otherwise the stays might end up very heavy. The best places for metal bones are next to the lacing holes at the center back (and front). You could also use metal bones to reinforce the stays on the inside, as suggested in the Encyclopedié.


After all the bones have been put into the channels, you can close the ends of the channels. Secure them by backstitching.


Then cut out the parts between the tabs.


Add the shoulder straps and you're ready to start making the lacing holes! They could also have been done before sewing the panels together but it doesn't really matter in which order you do it.  


I will post the next part of the tutorial sometime after Christmas or New Year by latest.
Happy holidays everyone! :)